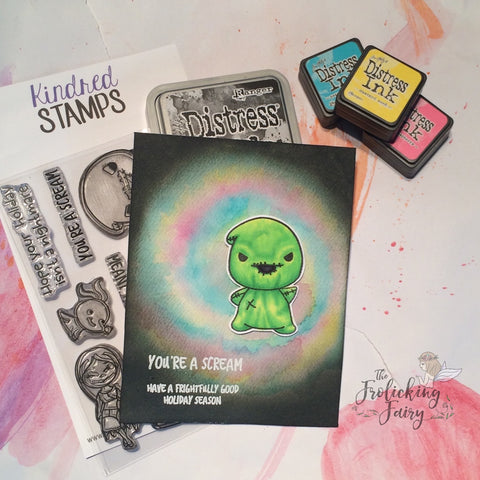
At the request of many, I am happy to share my (very simple) technique for creating a tie dyed look to a watercolor panel. I shared a card using this funky background in one of my latest blog posts for the Kindred Stamps November release. I think this background would be fun for some many different card themes!

So.. let's get started!!

Tape down a piece of watercolor paper to your craft mat. Saturate your paper with water. You will want to work relatively quickly to achieve the best results. I dabbed off some Distress Ink in Peacock Feathers onto a small acrylic block. Using my water brush, I added the ink in a spiral pattern as shown. The ink begins to feather on its own since the paper is wet.

I repeated the swirl next with Mustard Seed Distress Ink. You can use whatever colors you wish here, just consider similar color families to avoid creating brown.

I completed my swirl with Picked Raspberry Distress Ink. I did not wait for the paper to dry on its own; I used my heat gun to dry it and "push" some of the ink around a bit too, encouraging the ink to blend more. After drying a bit, I wanted some more feathering of the ink colors between the color layers, so I simply added them lightly with a touch of ink and a very wet brush until I had the look I wanted. I then let the panel continue to dry on its own.

And, guys, that is all it took! I LOVE the effect and knew if it worked out the way I hoped, I would have to share my fun success!! Please let me know if you found this helpful, and if you have replicated the process yourself!
Until next time.. xo
Supplies used:
___
#thefrolickingfairy #tutorial #tiedye #distressinks #technique #watercolor

I am going to try this today!! So fun!!
Whoa! That is incredible! I need to maybe try this technique with the Time Traveler set and create a time vortex of sorts!